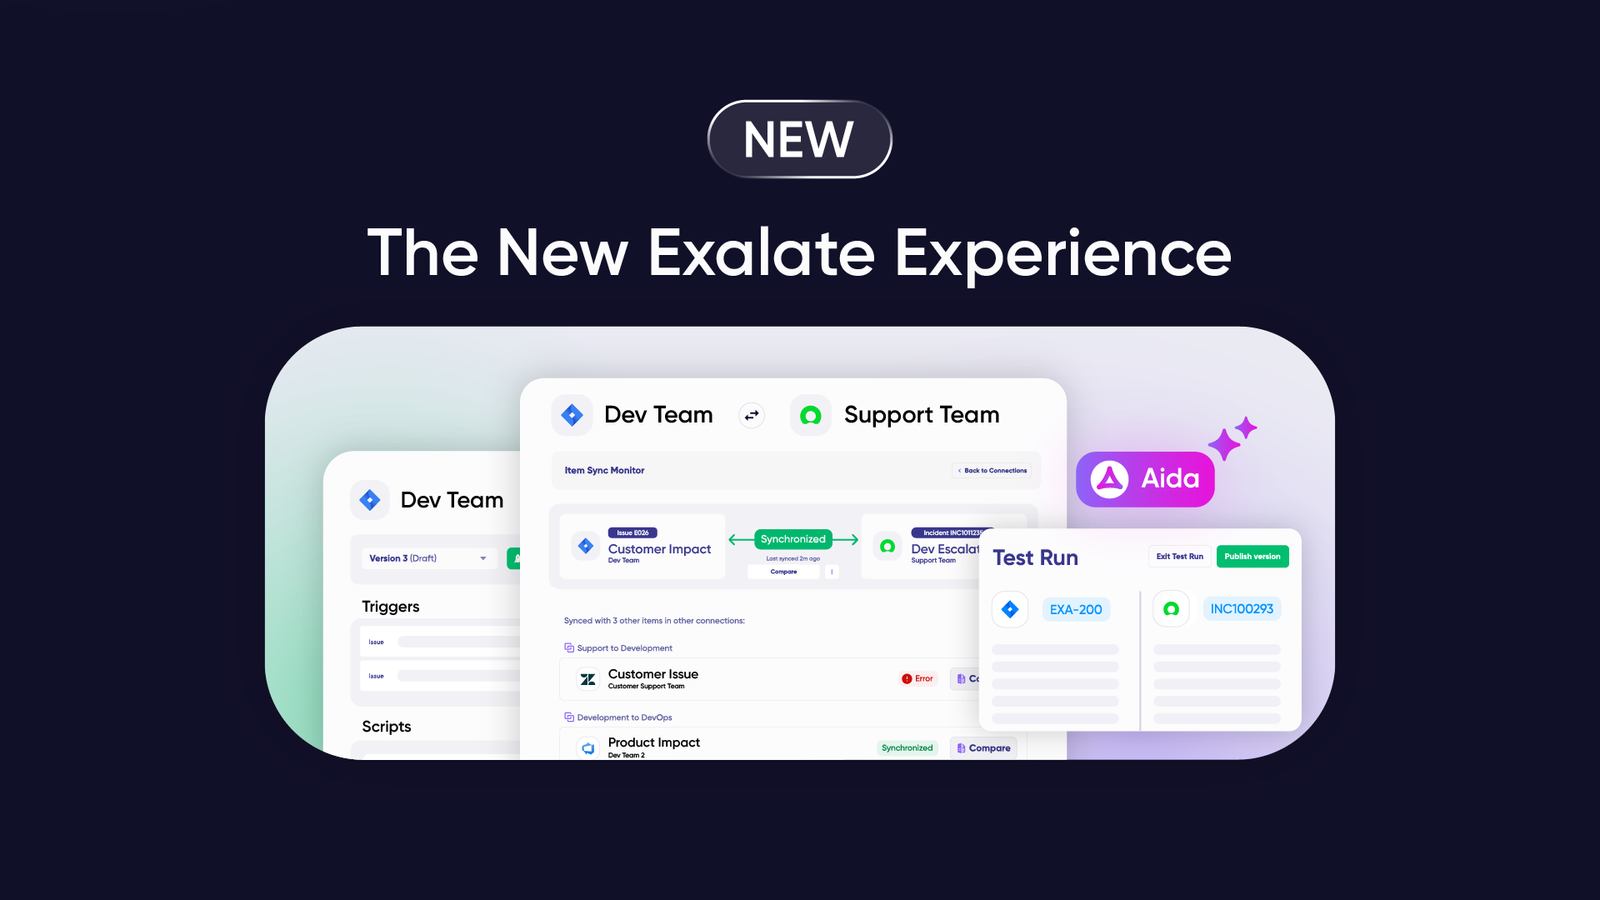
Here’s some good news for those who have been waiting for a more intuitive sync rules editor, the Exalate Visual Mode is here!
A Brand New UI for Low-Code Fans: Why you Need the New Visual Mode
Exalate was designed with the core concept of flexibility in mind to make it possible for a wide range of use cases to work out, thanks to its Groovy scripts.
And what if you didn’t want to play around with code? Well, that’s why we’re introducing the Exalate visual mode to make it as easy as possible for the users who prefer low-code. The Exalate visual mode is a new interface that is way more intuitive than the scripts for the users who do not want to do code.
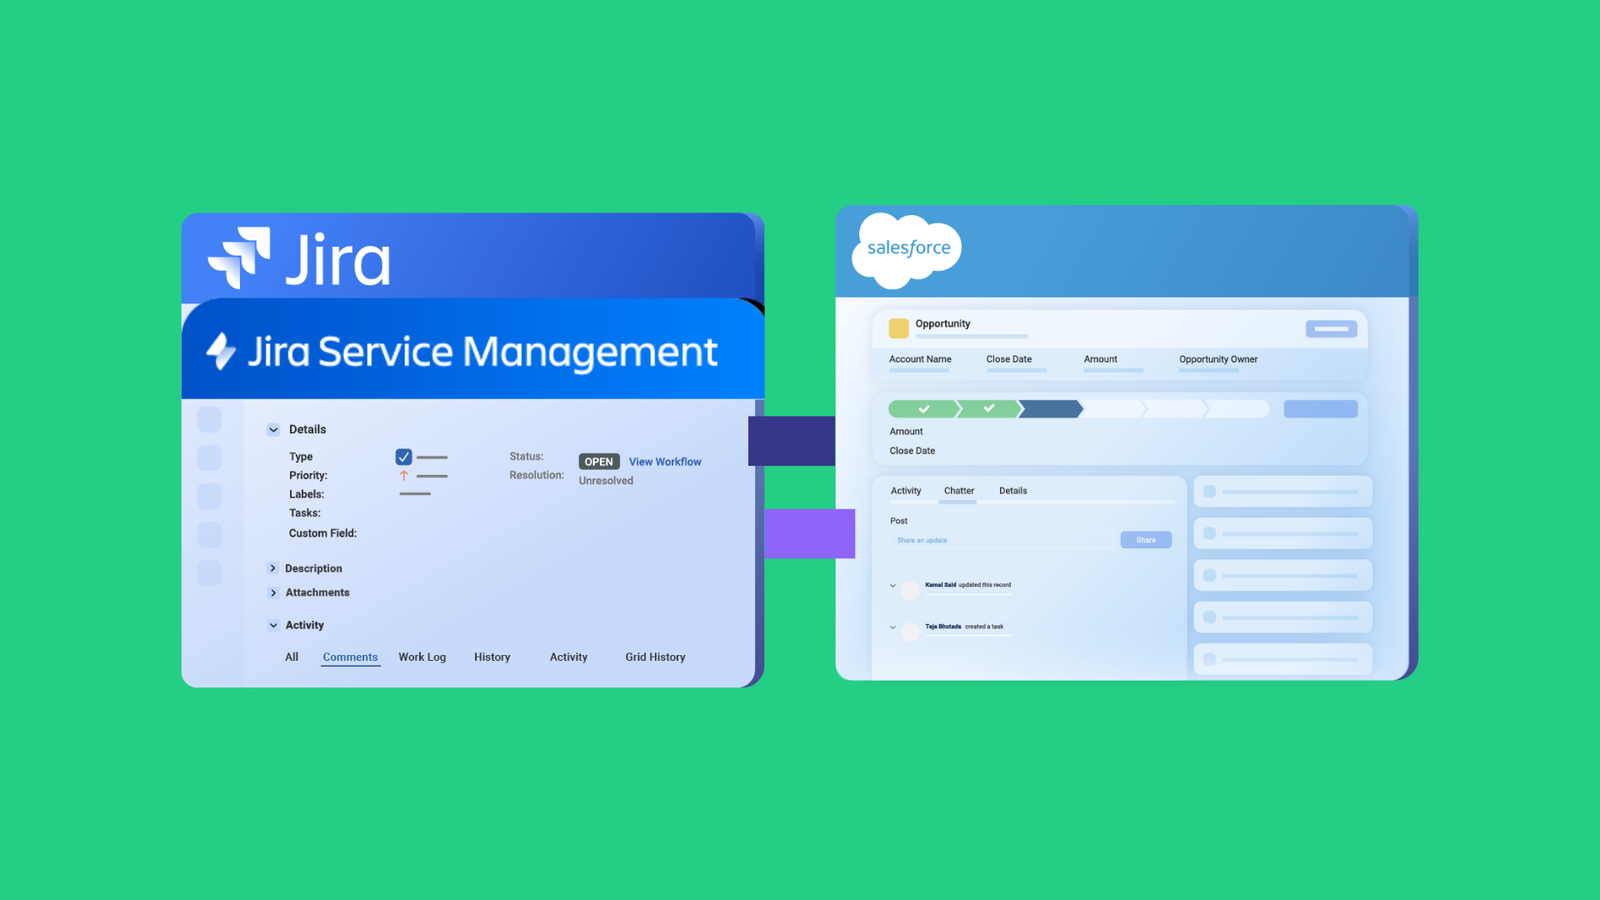
The new interface allows you to set up a connection from an instance to another. You can then configure and sync projects between these two public instances, or locally between projects on your own device. It also helps you configure the connection and map fields in-between from one single place.
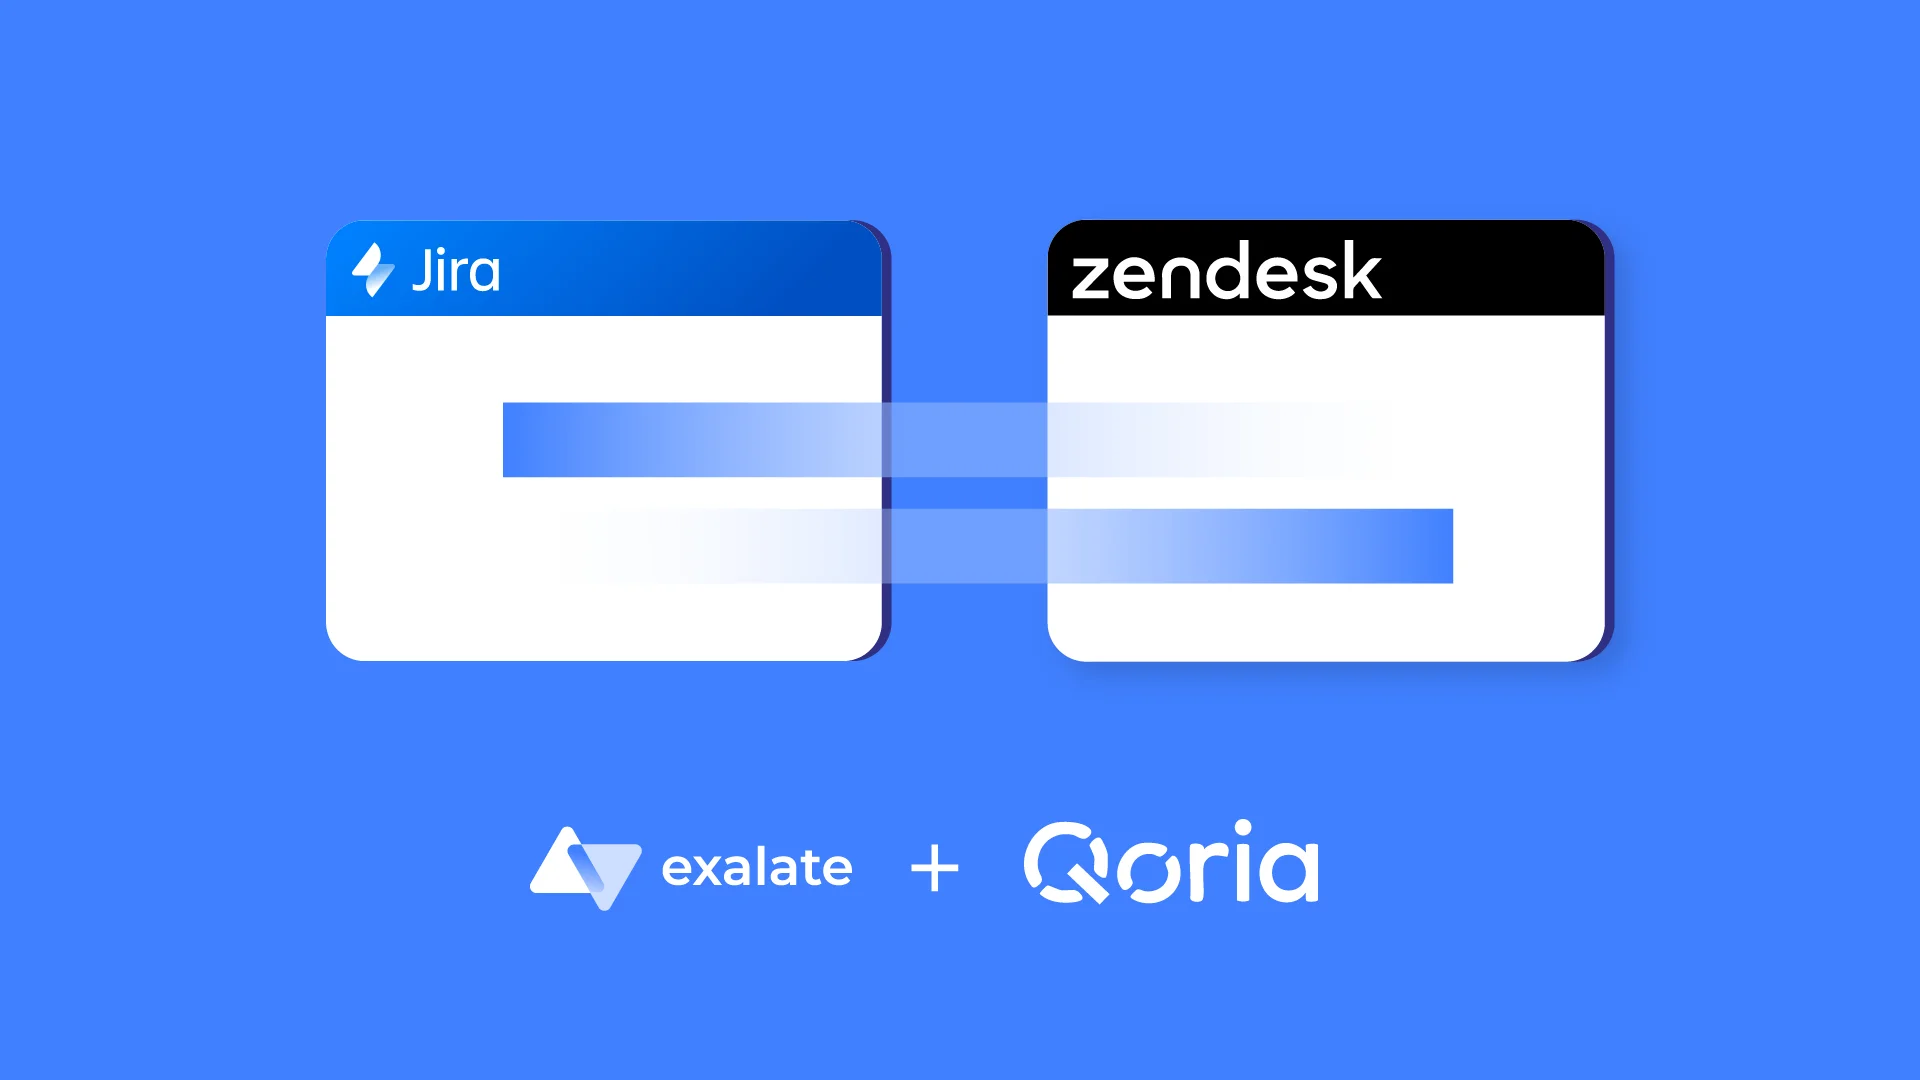
It is now available for Jira Cloud, Jira Server, Zendesk, and Azure DevOps and will soon be available for other trackers, too.
How to Get Started with the Exalate Visual Mode
You can use the visual mode to initiate a connection and configure and map the sync.
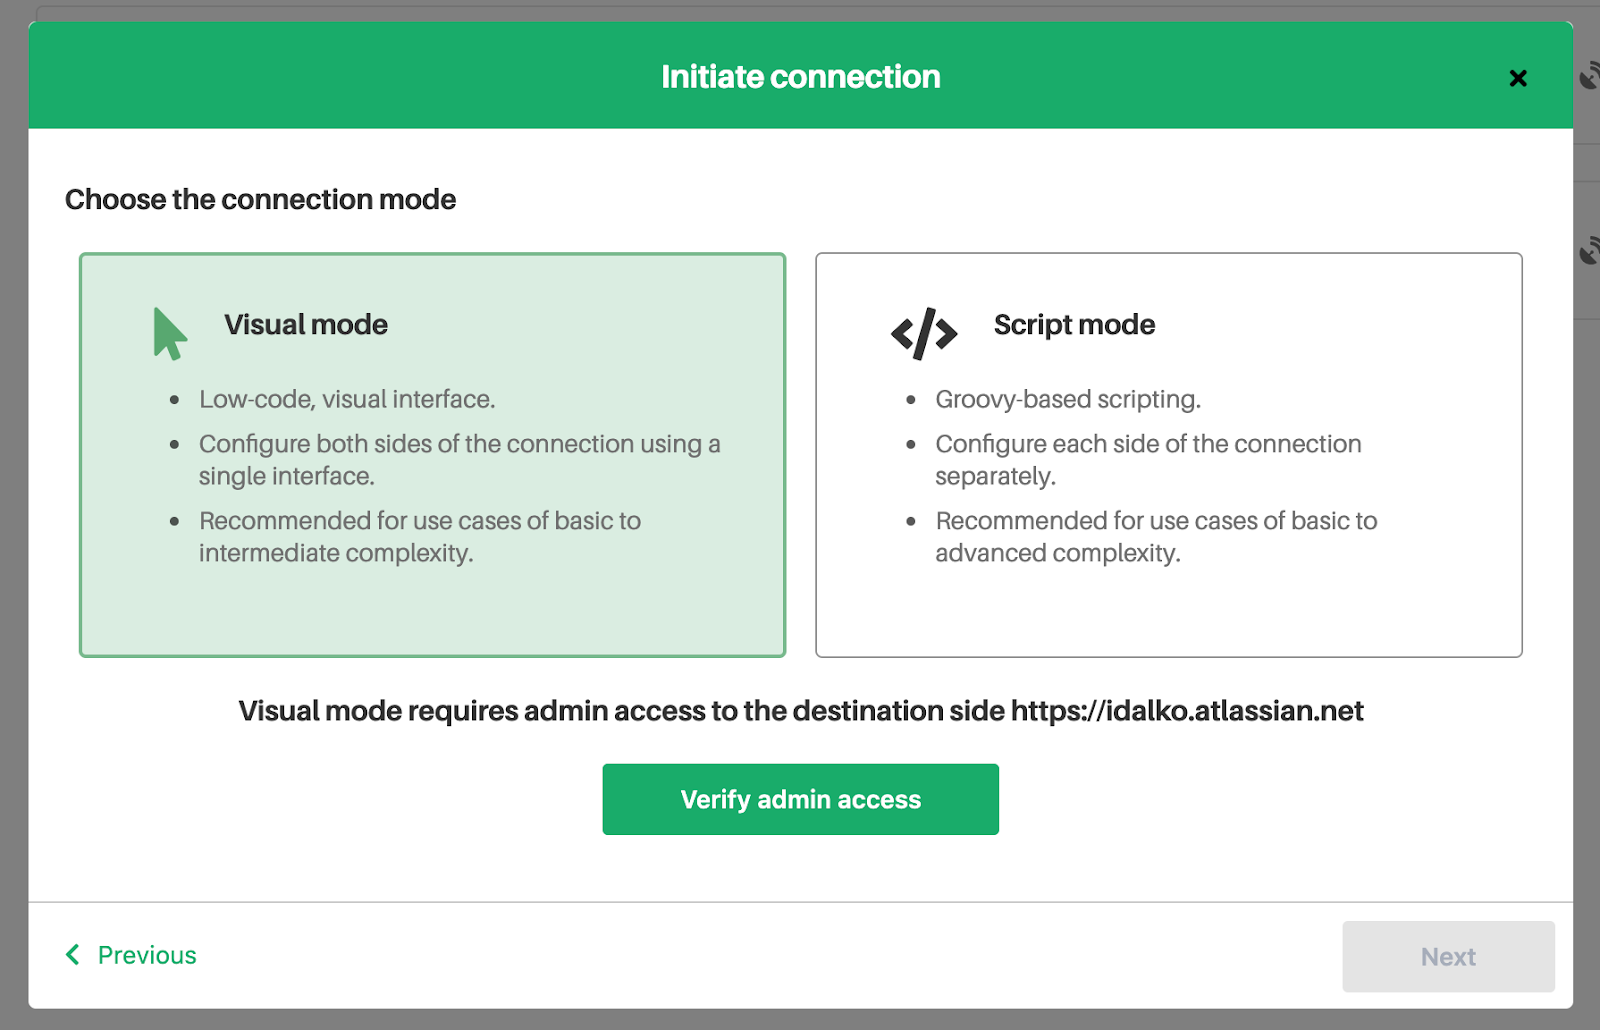
Before you initiate a connection, make sure your connection is public. You should also have admin access to the remote instance in order to be able to use the visual mode. So you need to verify the access to the destination instance and continue using the editor.

In case you do not have admin access on the other side, you can continue to configure your end and then send an invitation to your partner. And if that’s the case, you will only be able to configure the connection with scripts in Sync Rules.
How to Initiate a Connection in Visual Mode
Go to the Connections tab in the Exalate console and click Initiate connection.
Choose the public connection type to enable configuring the connection in the visual mode. Enter the connection information, e.g. the info about the instances and a description.
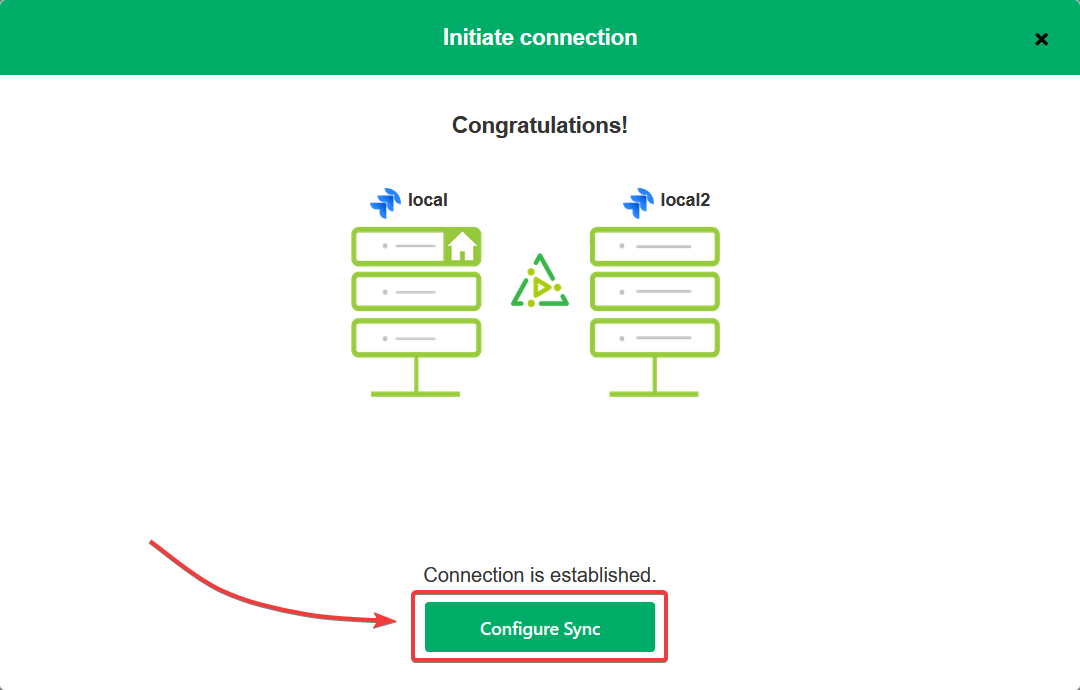
Now at this stage, you have to verify that you have admin access. So click Yes and continue. Then click Finish verification to finish the verification process.

Congratulations! Your connection is now set up.
Configure Sync Scope in Visual Mode
Now that your connection is up and running, you can proceed to set up the sync scope.
In the scope, you specify the details like what issues should be synchronized and how to start the synchronization process.
Here, you can also apply filters to projects if necessary.
Check out this documentation to learn more.
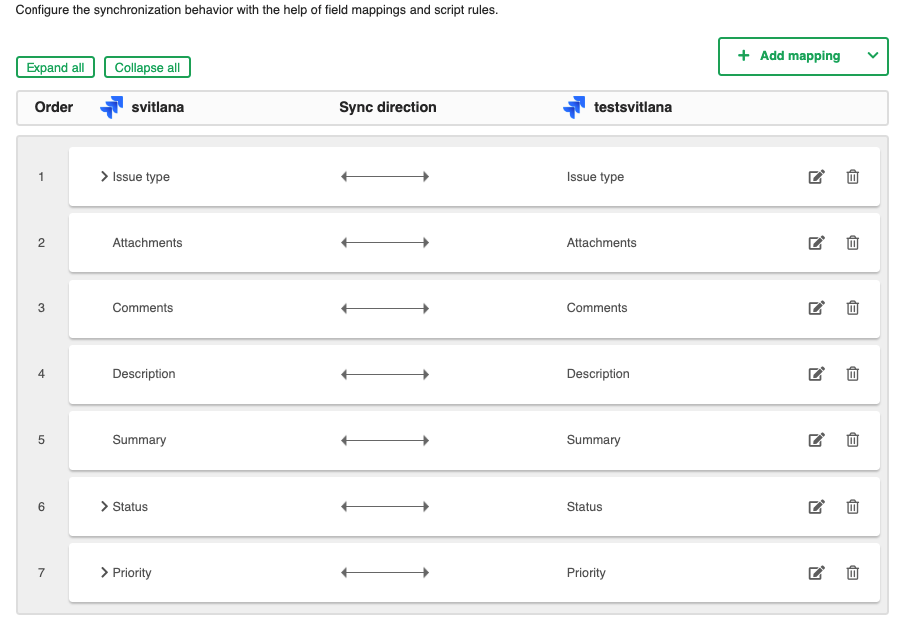
Add Field Mapping in Visual Mode
After you specify which projects to sync, you can add field mapping to determine what fields you want to sync. Mapping is available by default after you create a connection for some basic fields:
- summary
- description
- comments
- attachments
- status
- priority
- issue types
- assignee
- reporter
You can also map text and option custom fields. Easily select how to map custom fields between instances from the drop-down when configuring the mapping.
These custom field types are currently supported:
- text: single and multi-line (Jira Cloud, Zendesk)
- option/select ist ( Jira Cloud)
- user picker (Jira Cloud)
- drop-down list (Zendesk)
Check out this documentation to learn more.
Make Your Own Rules
You can still add script rules if the standard mapping rules are not sufficient to cover a specific use case. So you don’t have to get confined by the UI. Creating a script rule is pretty straightforward. You just need to:
- Edit your visual connection
- Select the rules
- Choose the “add script”
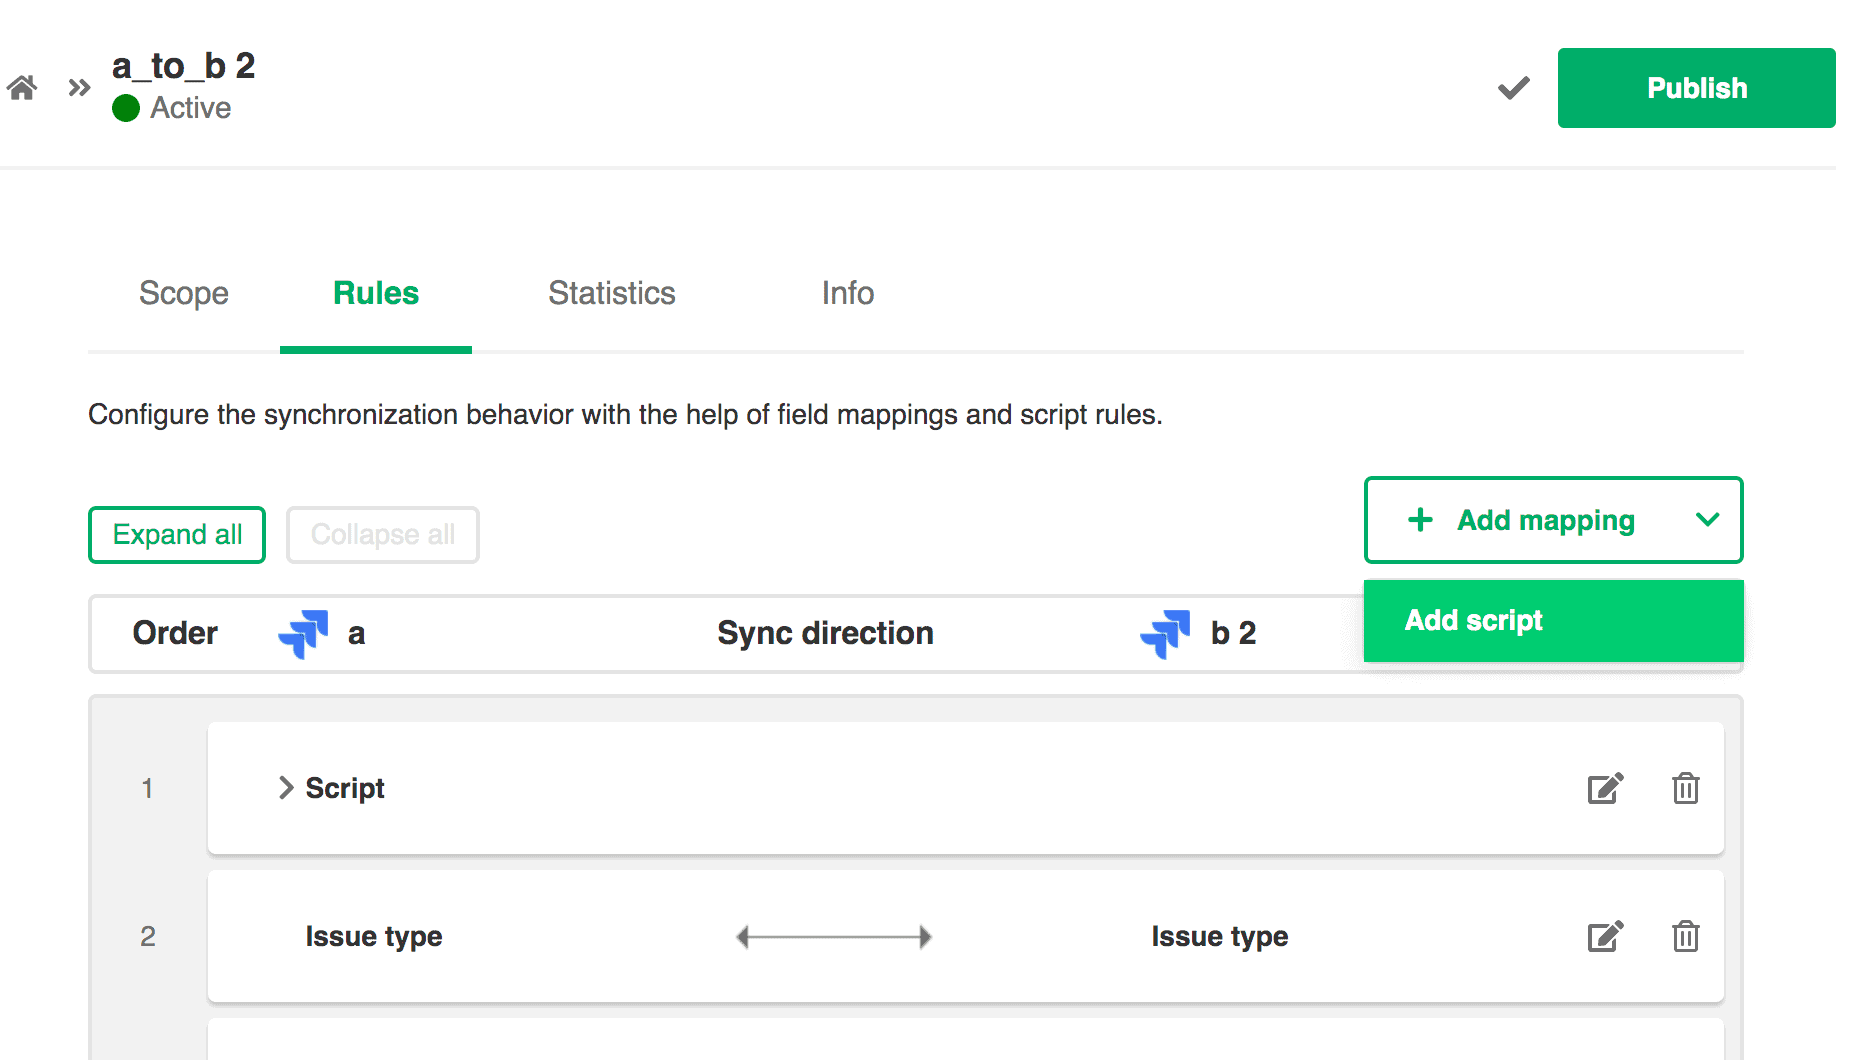
The scripts are groovy-based, so you’ll have ultimate flexibility to define your sync however you want. For instance, you can easily map between the assignees of one side with the instance name “left”, and another side with the instance name “right”.
Below you can find examples of the most common field types that are usually synchronized
- Labels
- Components
- Resolution
- User fields
- Text/String custom fields
- Single select list/radio button
- Multi-select list/Checkbox
- Multi-cascade custom fields
- Date/DateTime custom fields
- URL custom fields
- Label custom fields
- User picker custom fields
- Number custom fields
You can learn more about it in this documentation.
What’s to Come
At the moment, you can use the visual mode for Exalate for Jira Cloud, Jira Server, Zendesk, and Azure DevOps. And it is going to be available for Exalate for other trackers.
Stay tuned for more nodes to be added to the list in the future!