This article was originally published on the Zendesk Community and the Salesforce Community.
Do I need an integration?
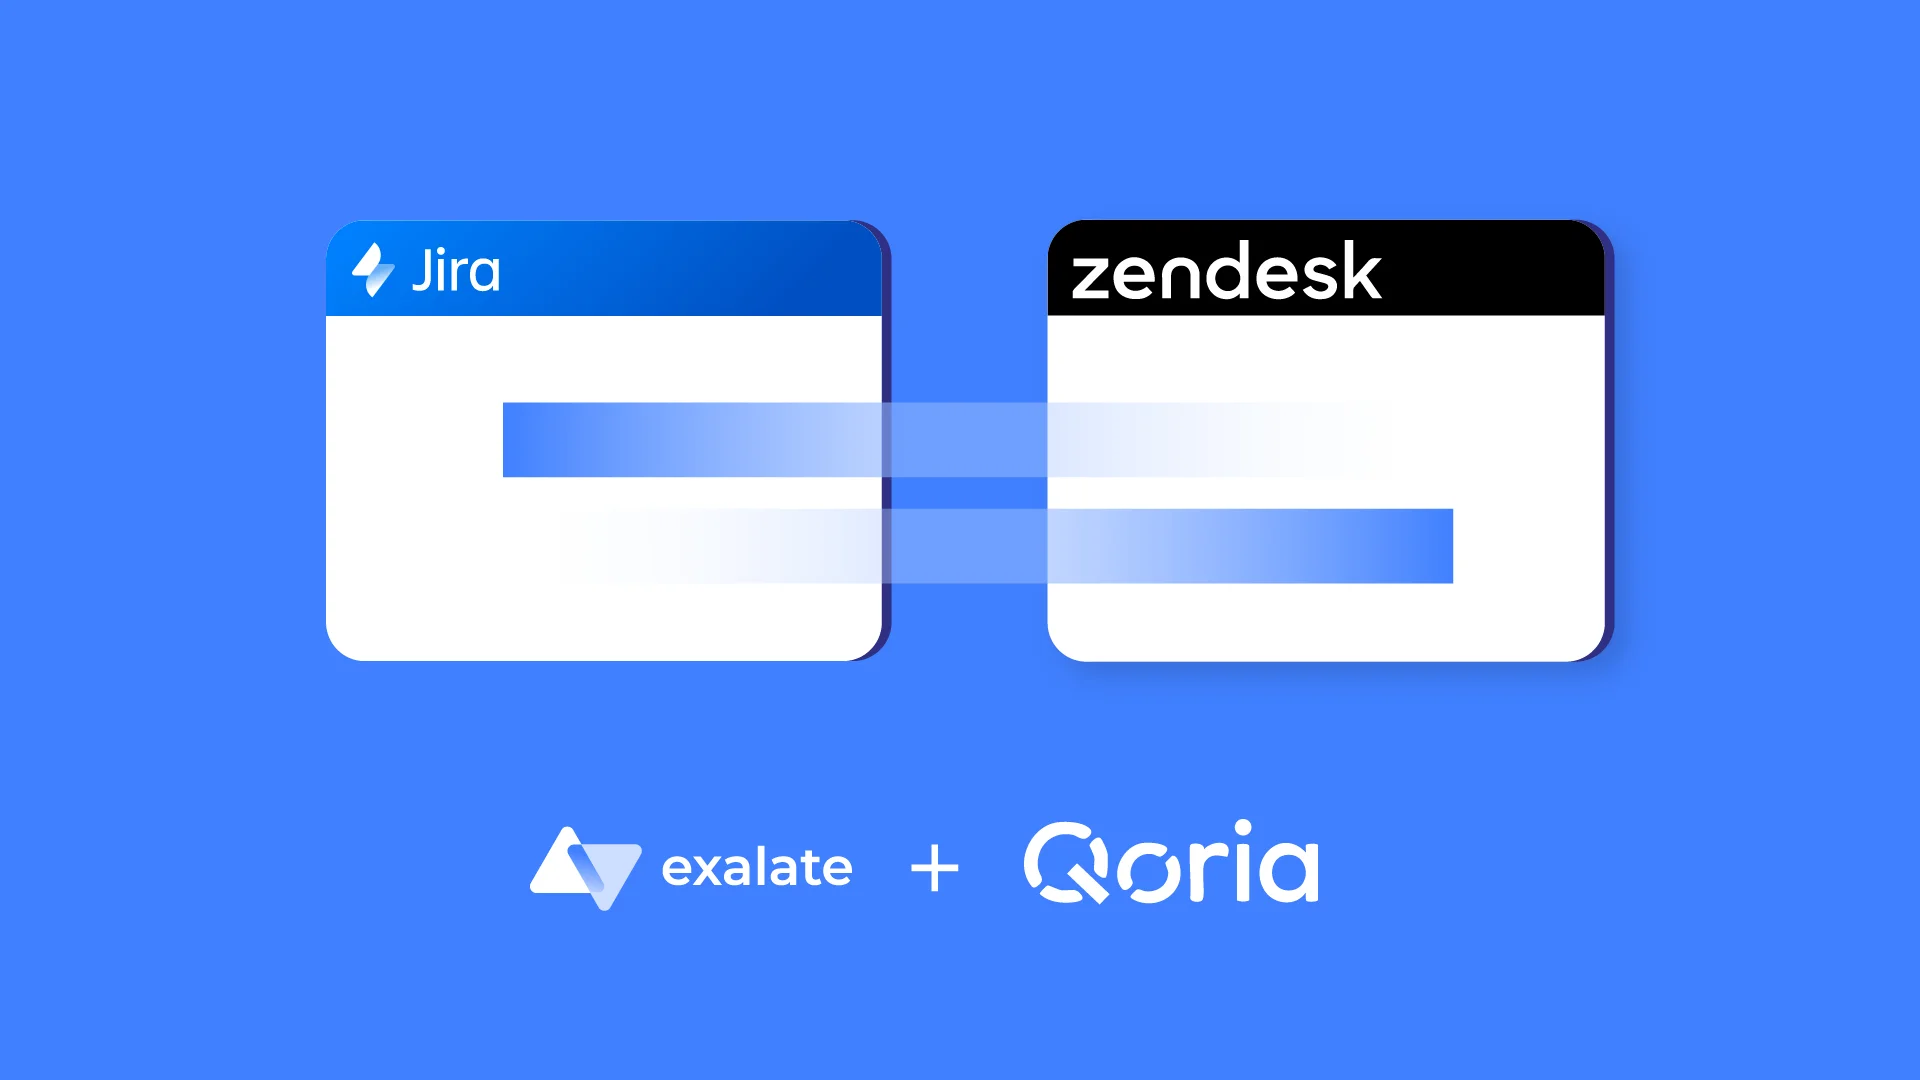
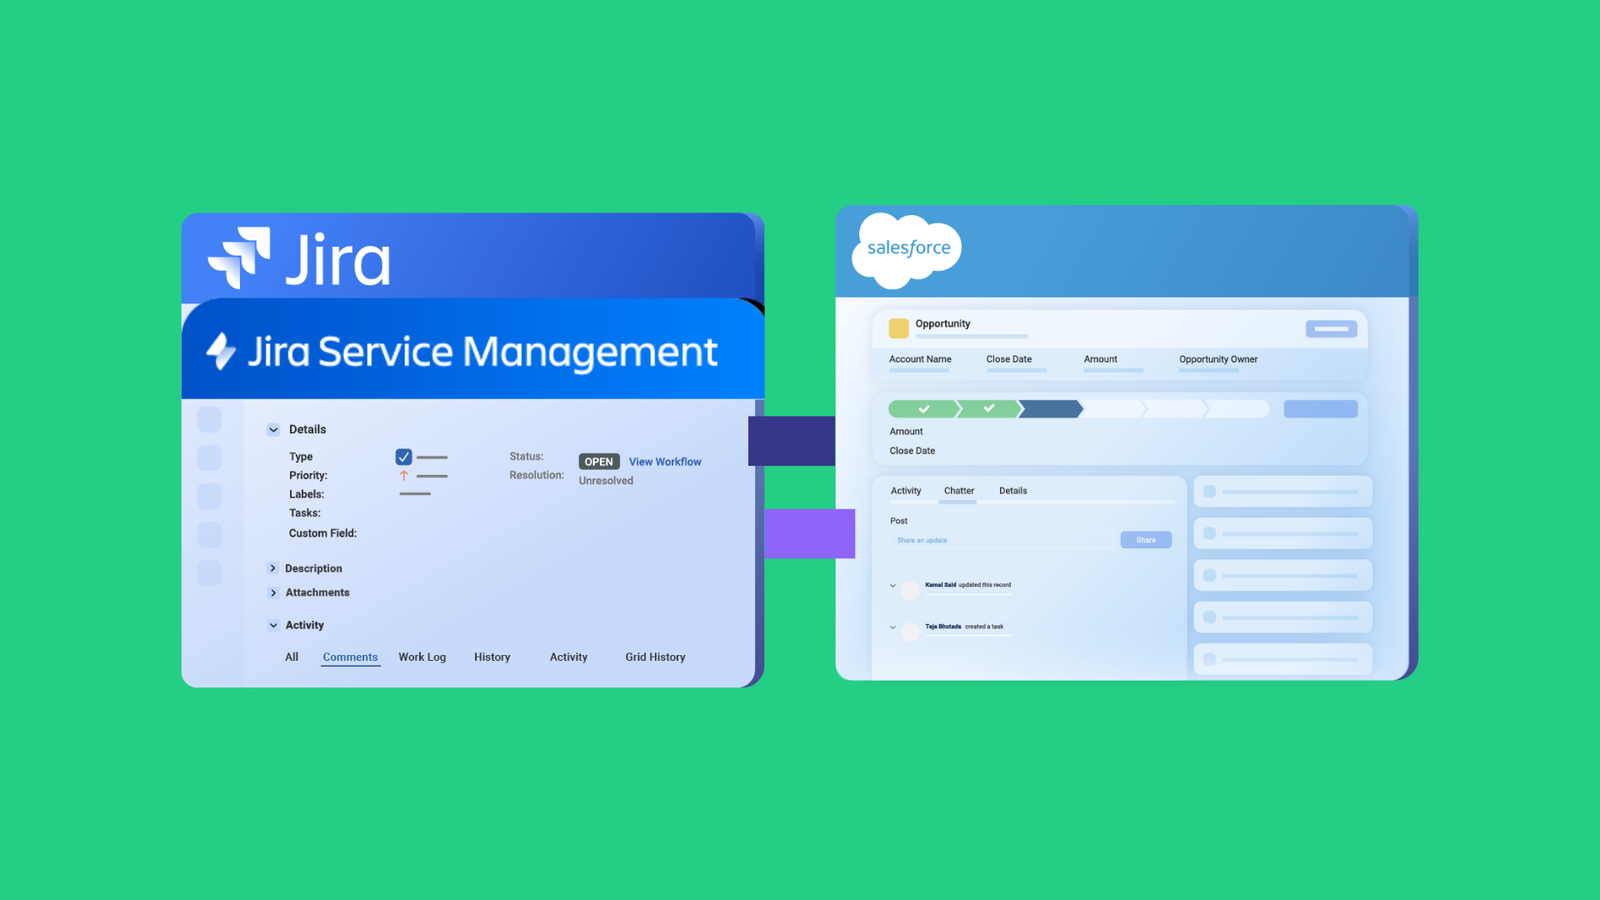
I have often come across companies that have their sales team working in Salesforce and their customer support team working in Zendesk.
But with such different applications, these teams often end up working in silos. For them to deliver a coherent customer experience, these silos need to be broken without leaving your favorite platforms.
So a Zendesk Salesforce integration is needed where information is exchanged automatically and bi-directionally in real-time. This will keep the teams up with information useful to each other.
With this in mind, I thought of putting together a post to help set up a step-by-step integration process between Zendesk and Salesforce.
Choose an Integration Solution
The tool I use for this tutorial is called Exalate. It is a bi-directional synchronization solution that integrates different platforms like Zendesk, Salesforce, Jira, ServiceNow, Azure DevOps, GitHub, and more. You can even implement the same tracker integrations using Exalate, such as integrating multiple Salesforce instances.
Exalate also offers an AI-powered Script Mode, which gives you access to the chat feature called AI Assist for generating custom sync configurations. Users of different technical capabilities can use this feature to generate code snippets and set up connections faster.
This app offers each side independent control over their configurations, so no worries about admins messing up each other’s sync. We will see how it is done in a while.
Let’s get to the implementation part first.
Implementation Using Exalate
The following are the basic steps:
Step 1: Install Exalate on Zendesk and Salesforce
First Exalate needs to be installed on both Zendesk and Salesforce. The installation is done via Zendesk marketplace and AppExchange from Salesforce and is pretty straightforward and easy to follow. So stick around while it’s done.
Step 2: Establish a Connection
Next, you need to create a connection between Zendesk and Salesforce. One side initiates the connection and the other side accepts the connection invitation.
So at either end, under the ‘Connections’ tab of the Exalate menu panel, click on ‘Initiate Connection’.

Suppose you start with Salesforce and enter the destination instance URL, i.e., the Zendesk URL.
You will now choose between the Script mode or the Basic mode.
The Basic mode is used for syncing simple tickets or Case information and you can’t configure it. So it is suitable for basic integration cases and is on the free plan.
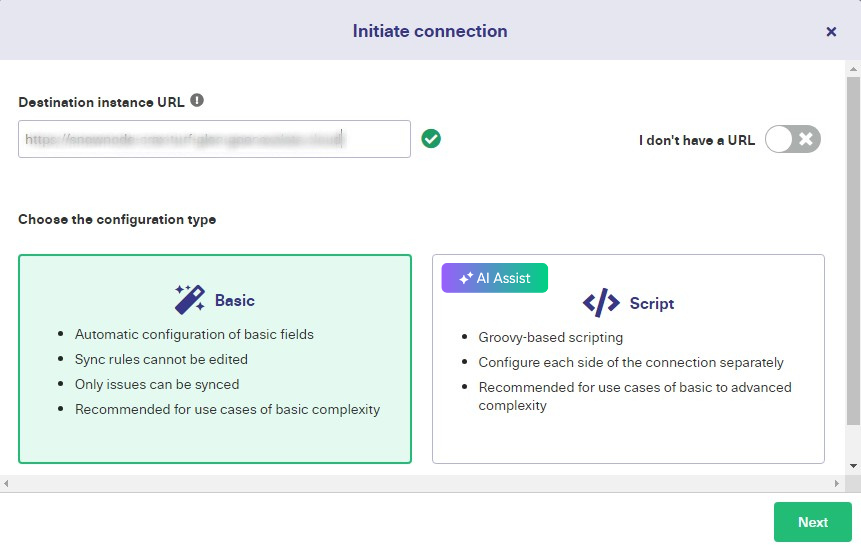
The Script mode is based on a Groovy-based scripting engine. So, as an Exalate admin, you can control both the incoming and outgoing information independently. This is possible with the help of incoming and outgoing processors that filter information to be sent and received at both ends.
On the Exalate UI, they are configured using ‘Rules’ aka Sync Rules. This mode gives the necessary flexibility to support complex or advanced integration cases.
Proceed to give a local and remote name to your instances, and a connection name will be generated, which can also be changed.
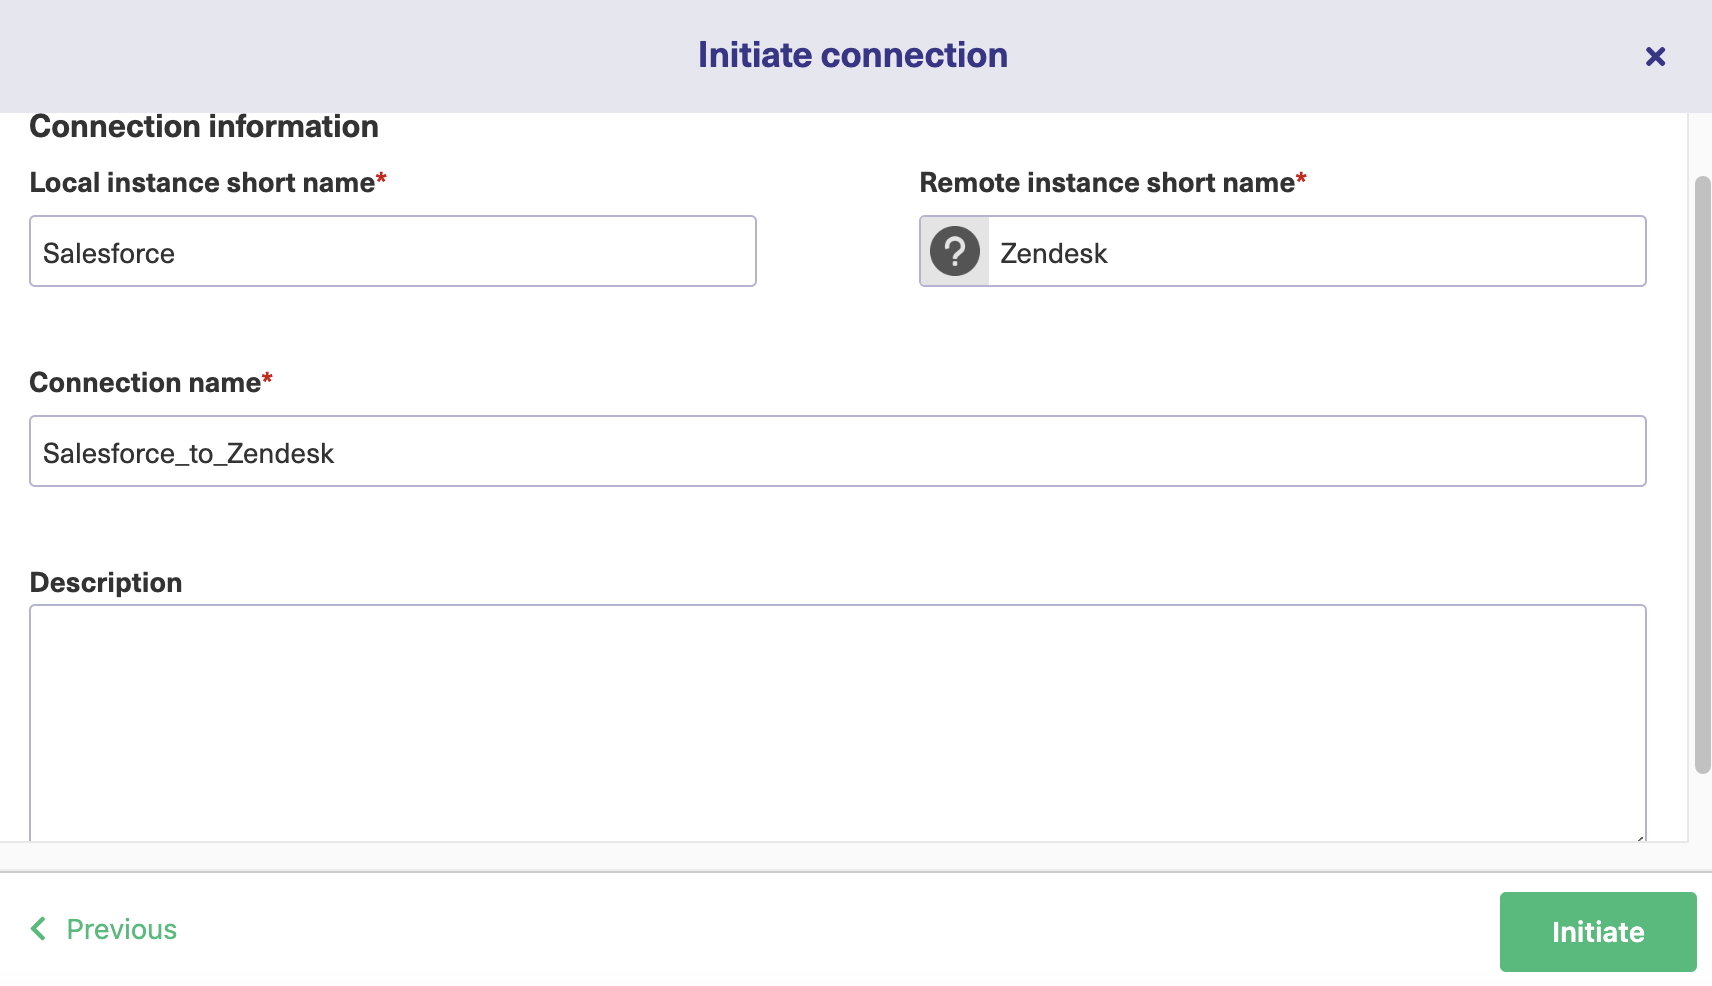
An invitation code is generated. Copy it and then paste it on the destination, i.e Zendesk in our case.
And that’s all that is needed to create a connection.
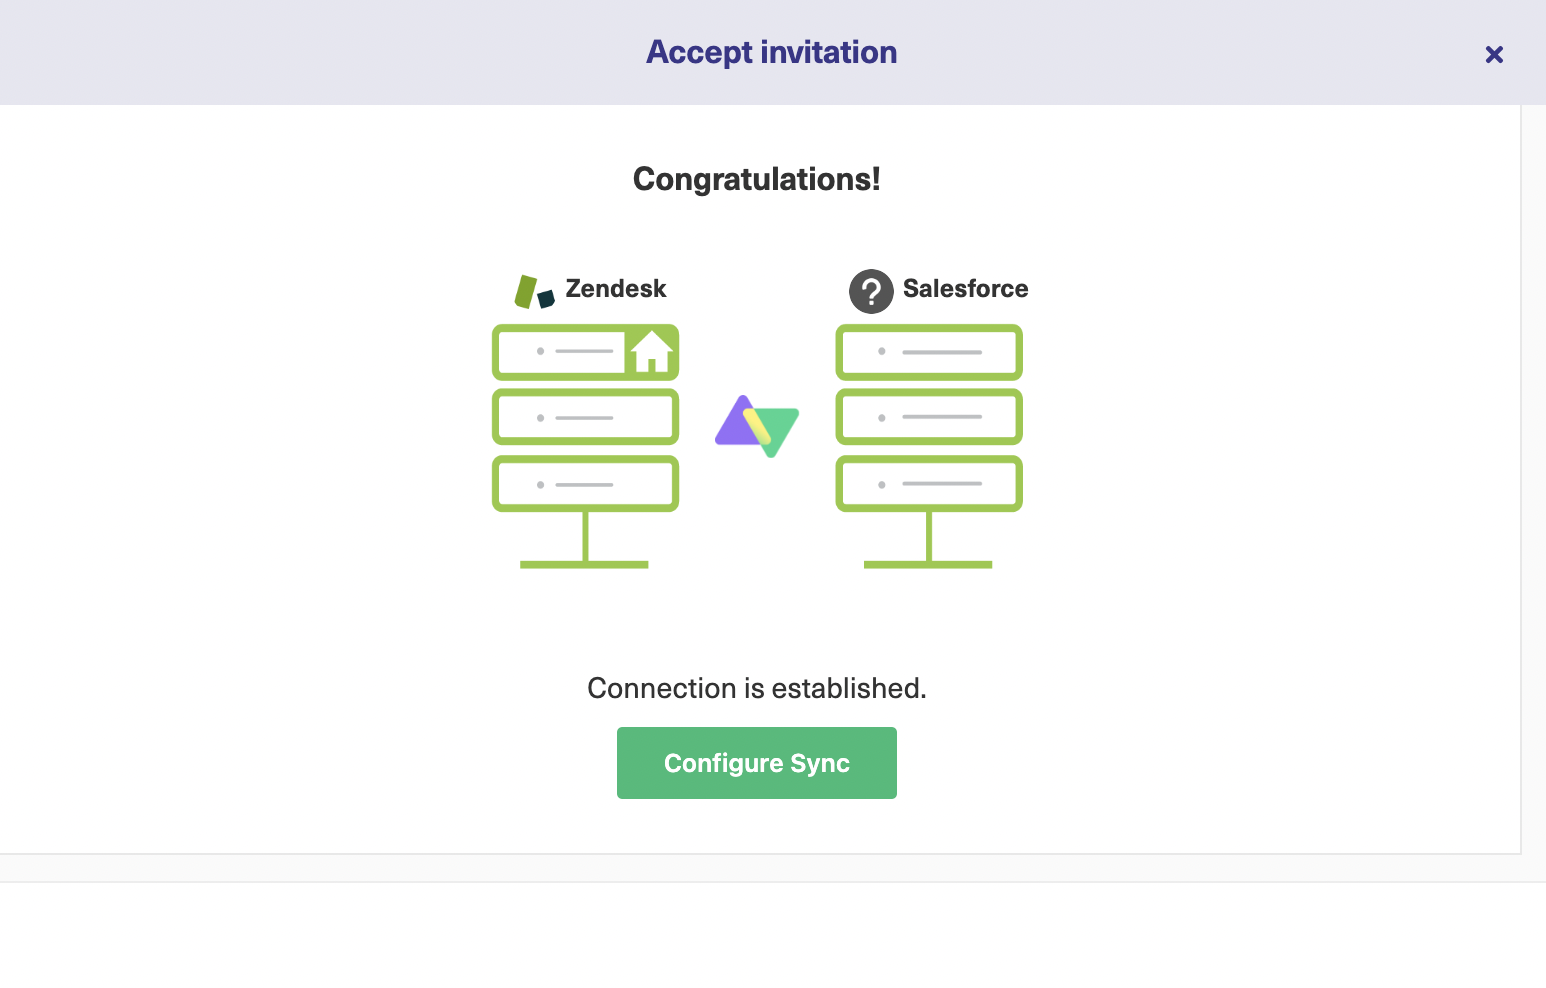
Now that you have created the connection, let’s configure it.
Step 3: Configure the Connection to Control What Information to Share
Sync rules that we discussed above are used to control what information needs to be sent and received. When you edit the connection or click on ‘Configure sync’ above, you will see something like this.
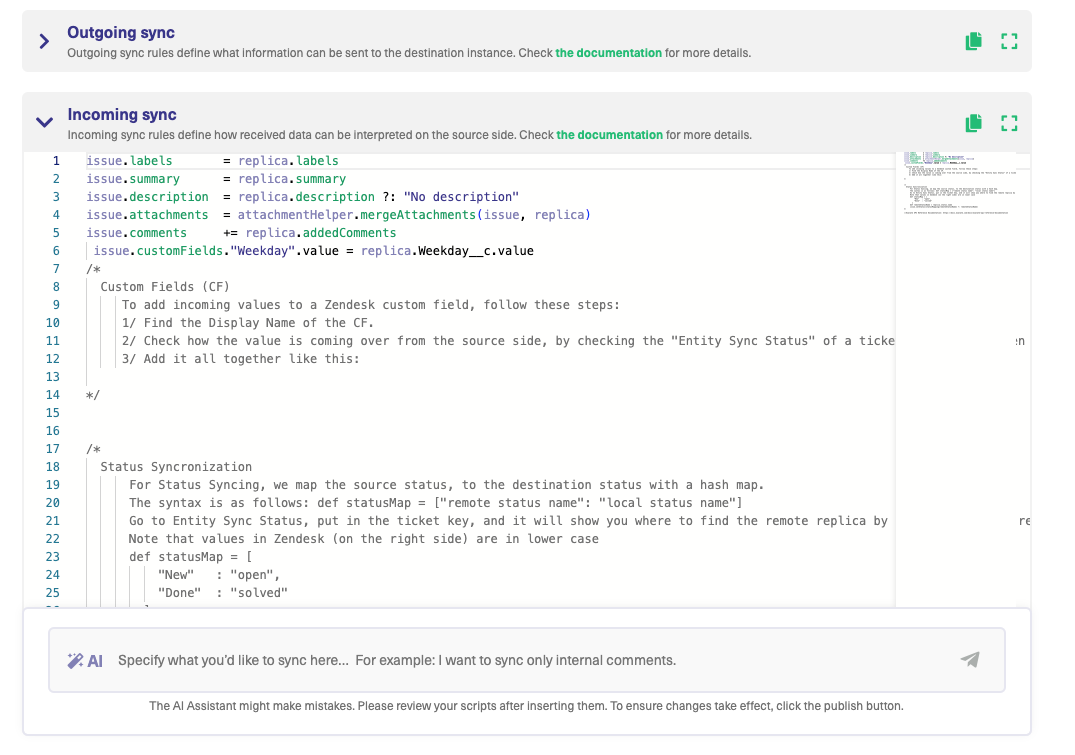
I will throw light on ‘Rules’ in this section.
As seen, ‘Outgoing sync’ and ‘Incoming sync’ denote information flowing out of or into the 2 platforms.
The replica is an empty placeholder and acts as a message or payload to send the required fields from one side to the other.
You can save the information you want to send in the ‘Outgoing sync’ and then map it to the ‘Incoming sync’ of the receiving side.
If there is some additional information apart from the default scripts presented above, then you simply add it to the ‘Rules’ tab. For instance, if you want to send some custom fields from Zendesk to Salesforce, then you write in the Outgoing sync:
replica.customFields. “CF Name” = issue.customFields. “CF Name”
If there is certain information that you want to stop syncing, then simply comment or remove those lines from the code.
Once you have worked on configuring the ‘Rules’, it’s time we head towards creating triggers.
Use AI Assist to Generate Sync Rules
Exalate’s script mode includes AI Assist, accessible through a chat window in both the incoming and outgoing sync rules tabs. Simply enter your sync requirements into the chat, and AI Assist will generate the scripts for you.
The scripts are built based on your input, existing configurations, and Exalate’s scripting API.
However, like any AI, AI Assist isn’t flawless and can sometimes make mistakes. To get the best results, make sure your prompts are as clear and detailed as possible.
Here’s an example of how to use it:
If you want to map custom fields between Zendesk and Salesforce, you could type something like this into the AI chat:
I want to sync a custom field from Salesforce called “Account Officer” to a Zendesk custom field named “Staff Agent”.
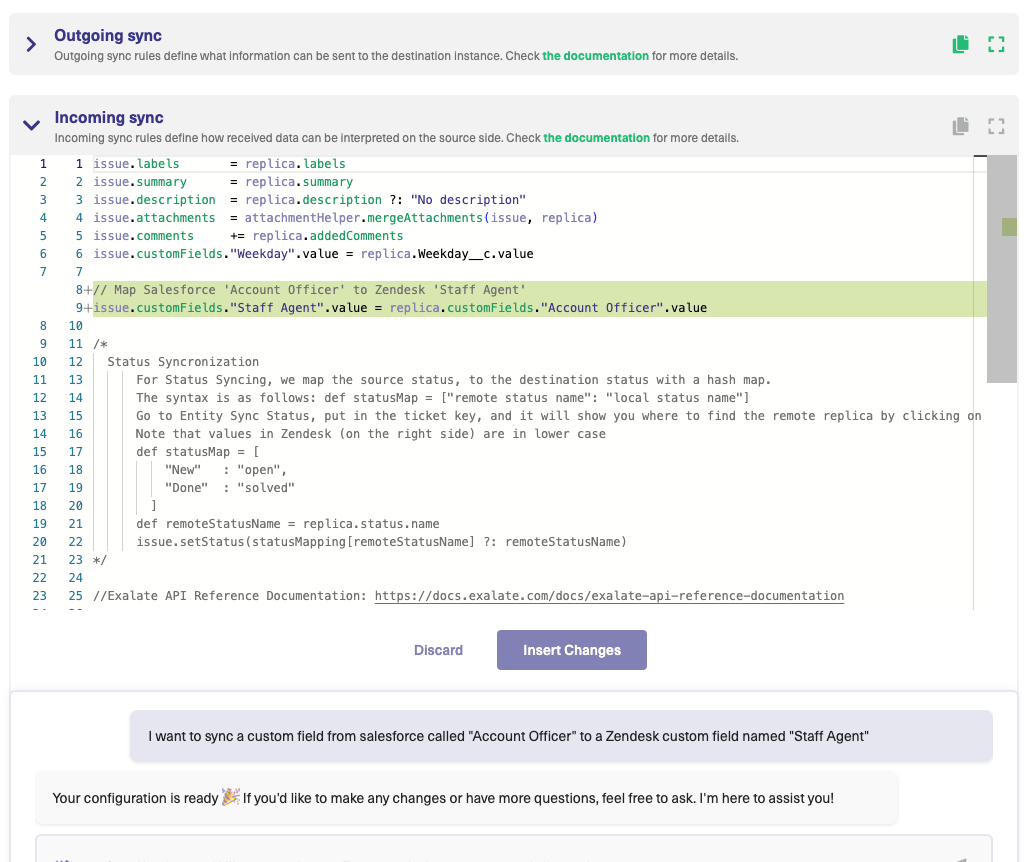
The AI will generate the script shortly.
Red lines indicate what will be removed from the existing script, while green lines represent new additions. You can accept or reject these changes and refine your prompt if needed. Once everything is correct, don’t forget to publish your changes.
Step 4: Configure Triggers
Triggers are used to start the automatic synchronization of information once the conditions you set are fulfilled. Start by clicking on the ‘Triggers’ tab to create them.
On the Zendesk instance, you will use the Zendesk search syntax for creating triggers, whereas on the Salesforce instance, you will use the SOQL (Salesforce Object Query Language).
First, select the entities to which the trigger applies from the drop-down list. Then in the ‘If’ section enter the trigger query. You can also choose the entities you want to create a trigger for using a drag-and-drop
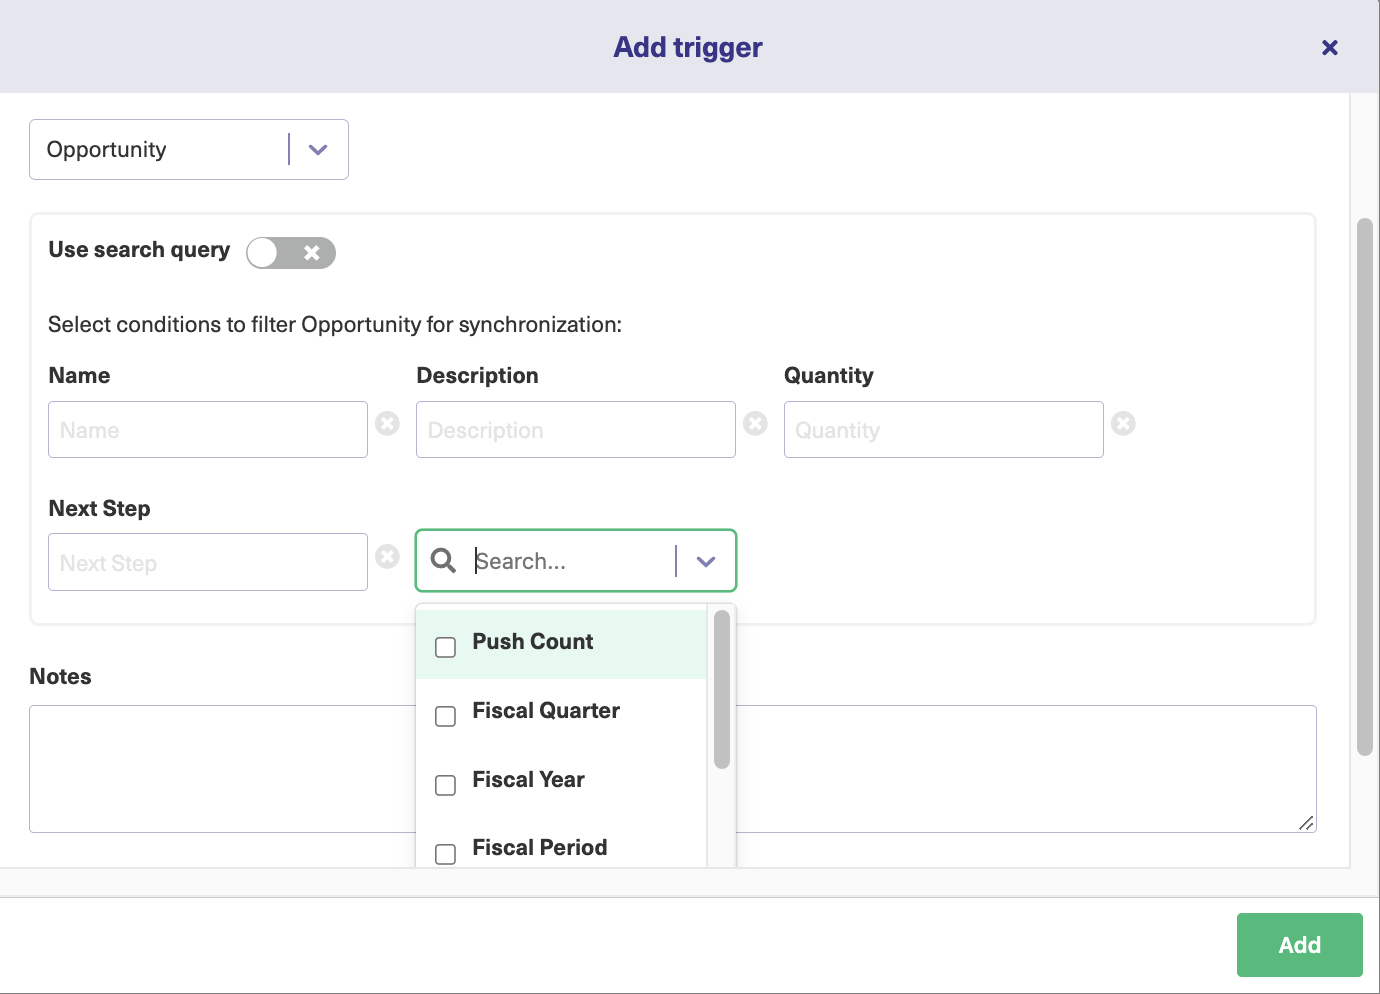
option.
Activate the trigger and ‘Publish’ the changes.
You can also perform ‘Bulk Exalate’, a feature that allows you to synchronize all existing entities that meet the trigger condition.
Step 5: Synchronize Information
Once all the configuration is done and the trigger condition is met, then synchronization will start as per the ‘Rules’ you have set. So sit back and enjoy!
Note: There is also a detailed article on a Zendesk Salesforce integration if you like to read more about it.
Conclusion
At some point in using software, we have all felt the pain of making different software communicate with each other. Exalate helps to ease that pain a little and we saw how. If you feel this tool can help with your use case, then feel free to book a demo and talk with one of our experts.