This article was originally published on the Atlassian Community.
You can integrate custom data between Jira and Azure DevOps with the help of secure third-party tools. Such custom integrations are necessary to maintain the hierarchy of data when moving between both sides of the integration.
For better clarity, we’ll explore a sample use case. We’ll also use an integration solution called Exalate.
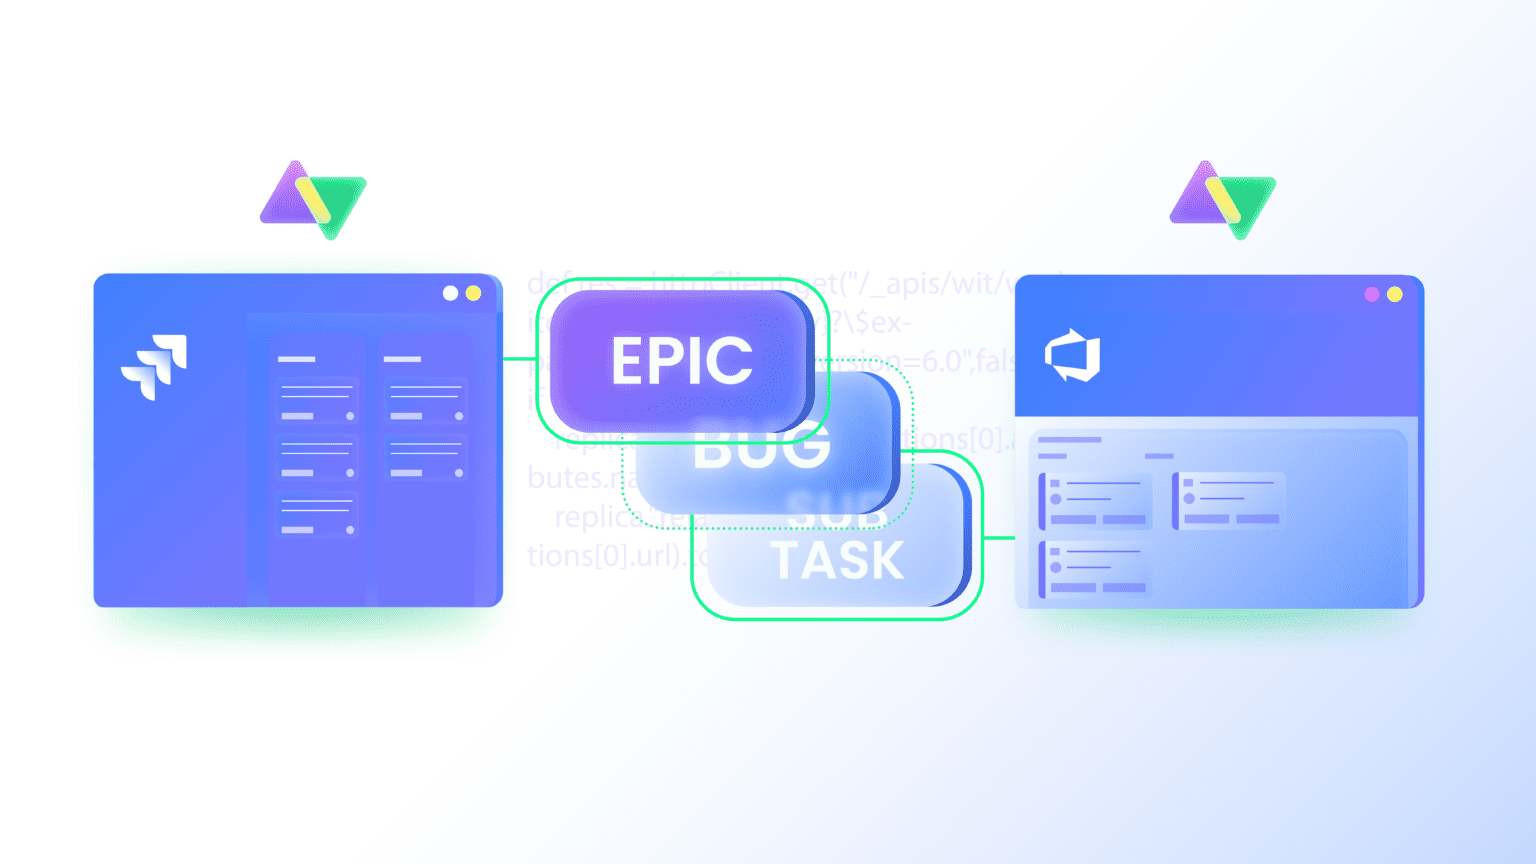
Custom Integration: ADO to Jira Use Case
Any work item (Epic, Task, or Feature) created on Azure DevOps is reflected as a ticket (Story, Task, or Bug) on the Jira side. Making any adjustments to the ticket name or description is reflected automatically on the other side.
You will also see a link between work items or tickets based on the established hierarchical structure.
Let’s go through the requirements and challenges:
Primary Requirements
When a user creates a task, epic, or feature on the Azure DevOps side, it should be mapped to a story, task, or bug on the Jira on-premise side. You also need to create a 3-level hierarchy between all 3 work items.
In addition, you need to establish sync rules for the incoming and outgoing data on both sides.
Potential Challenges
- Inaccurate mapping of fields
- Network failure
- Triggers with errors
- Poorly written rules
The Solution: Exalate
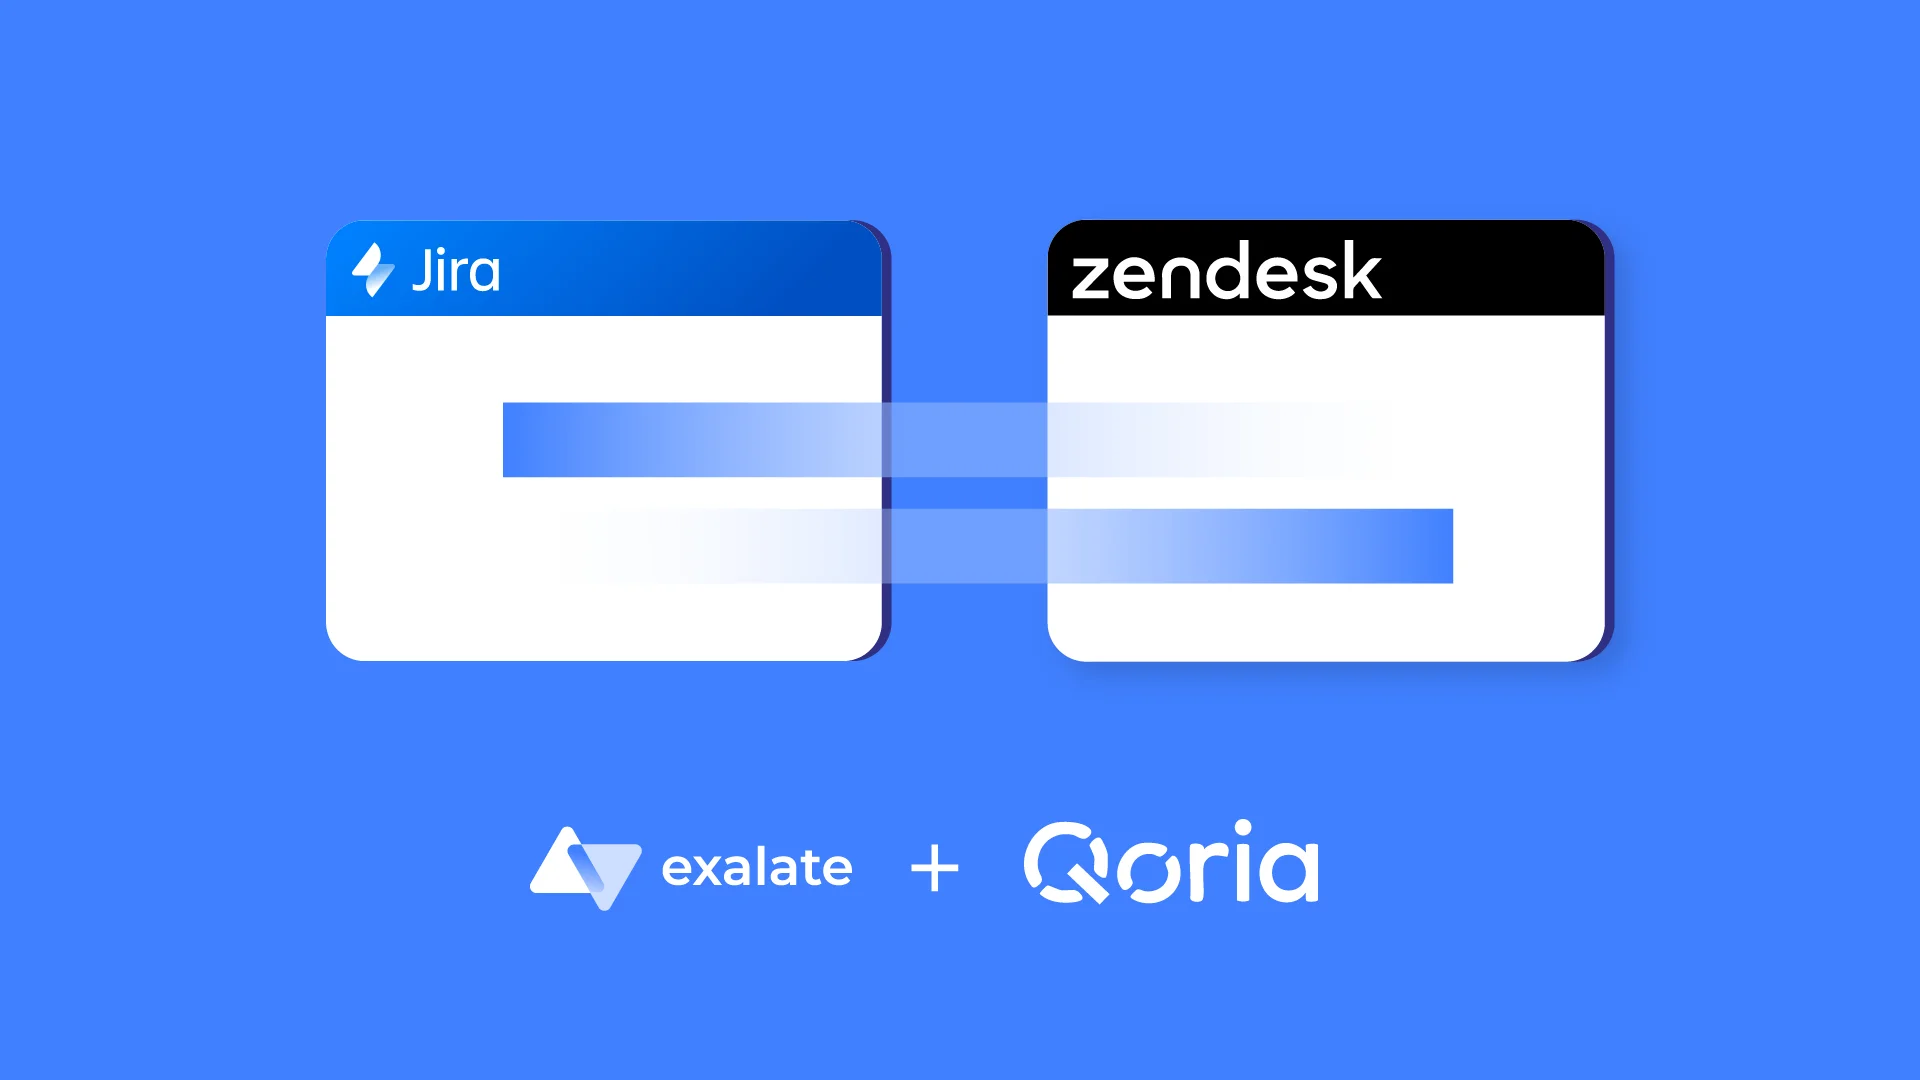
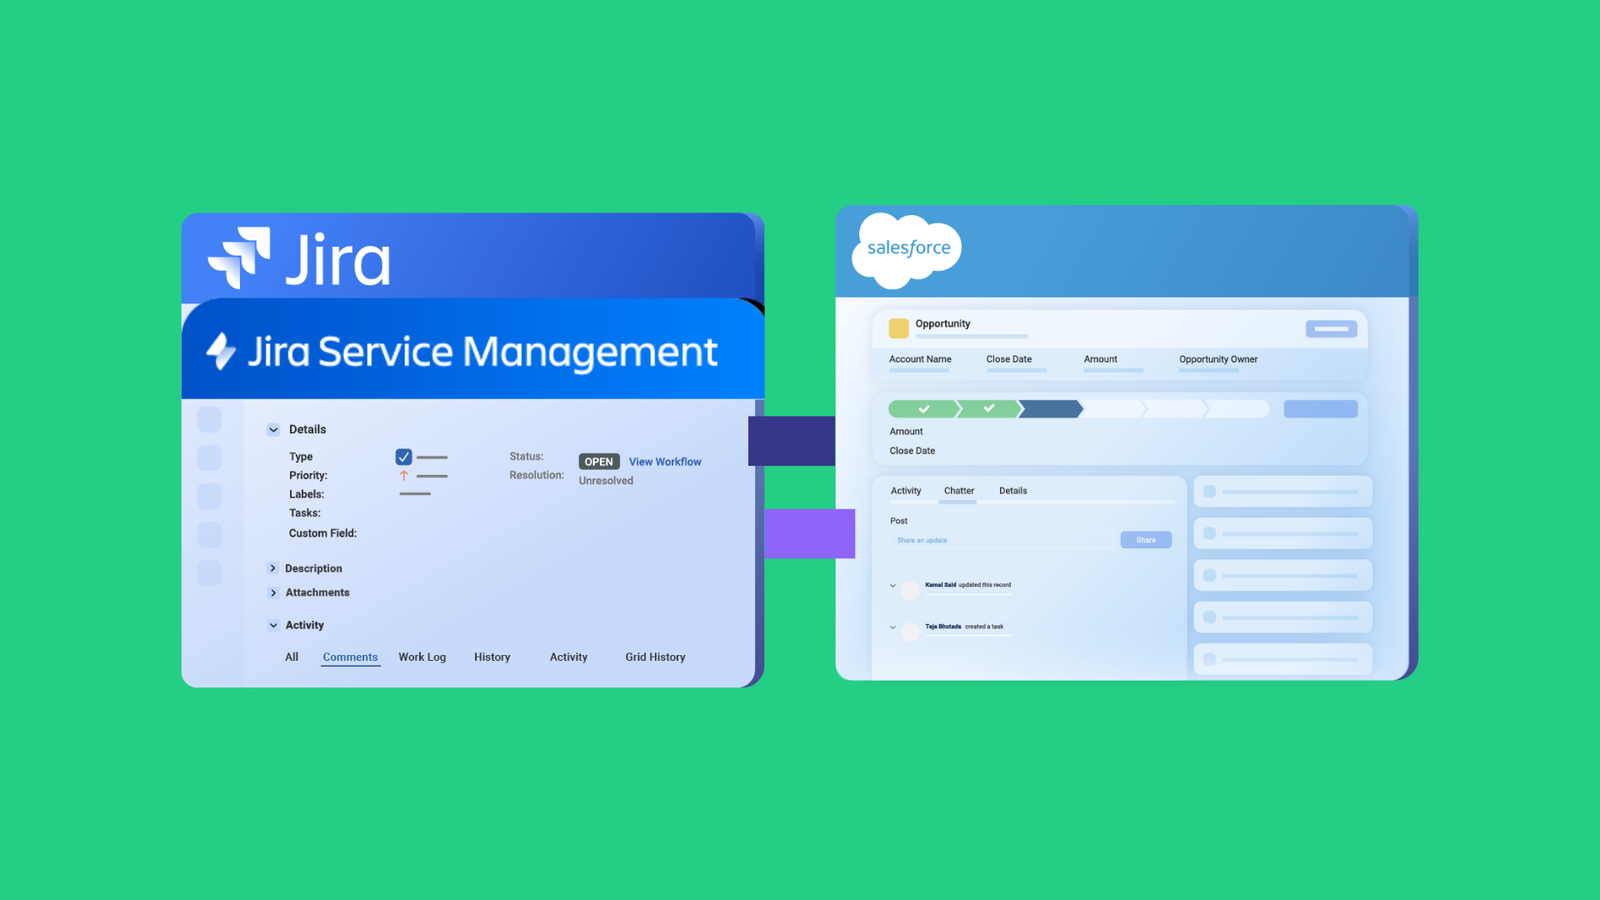
Exalate is an integration solution that enables bidirectional synchronization with work and service management platforms such as Zendesk, Azure DevOps, ServiceNow, Jira, Salesforce, etc.
Why Use Exalate?
- It allows you to sync fields between Jira and Azure DevOps.
- You can configure your use cases with the help of the Groovy engine.
- It allows you to set custom triggers for automatic syncs.
- Using the bulk connect option, Bulk Exalate will save you time when you have multiple syncs to complete.
How to Implement Exalate for Data Updates
Before using Exalate, you need to install it on both the Jira and Azure DevOps sides. To establish your first connection, follow the instructions in this comprehensive guide.
Considering that this specific use case requires advanced integration and some coding, you must establish the connection using the Script Mode.
When setting up a connection, you need to configure the incoming and outgoing syncs:
- Outgoing sync (on the Azure DevOps side) refers to the data to be sent over to the Jira side.
- Incoming sync (on the Jira side) refers to the data to be received on the Azure DevOps side.
Under the “Rules” tab on the Azure DevOps side, enter the following code snippet into the “Outgoing sync” text area.
replica.parentId = workItem.parentId
Note: The workItem.parentId function refers to the unique ID of any work item created on the Azure DevOps side. The replica.parentId function contains the information you want to pass between the two instances.
def res = httpClient.get("/_apis/wit/workitems/${workItem.key}?\$expand=relations&api-version=6.0",false)
if (res.relations != null){
    replica."relation" = res.relations[0].attributes.name
    replica."relationid" = (res.relations[0].url).tokenize('/')[7]
    }
The code snippet above uses httpClient to call the API for the work item using the GET method. It picks up information about the relationships for work item attributes such as name and description.
Once done, click “Publish” to save the changes.
On the Jira side, go to the “Incoming Sync” text area under the “Rules” tab. Replace the placeholder code with default functions for handling the syncs.
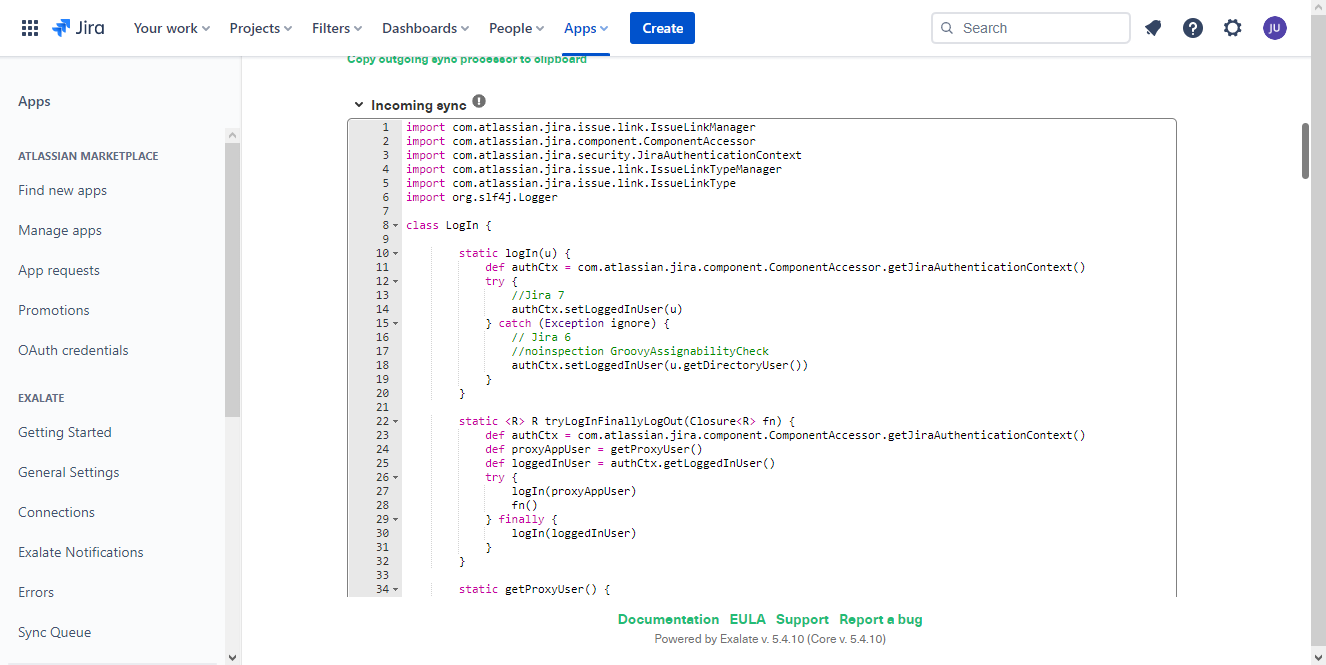
Let’s go through some important code snippets.
def issueMap = [
        "Epic" :"Story",
        "Feature" :"Task",
        "Task" :"Bug"
        ]
    issue.typeName  = issueMap[replica.type?.name]
The issueMap fragment specifies how work items should be mapped to Jira elements (Epic-Story, Feature-Task, Task-Bug).
def linkTypeMap = [
        "Parent" : "Relates",
        "Duplicate" : "Duplicate"
        ]
This linkTypeMap object specifies how the relationships between work items and issues should be mapped between Azure DevOps and Jira (Parent-Relates, Duplicate-Duplicate).
You can get the entire code snippets here.
Once done, click “Publish” to save the changes.
Congratulations! Your connection is set. You can now set triggers to help you automatically update and sync Jira issues with Azure DevOps. Subsequently, you can tweak the code for specific projects.
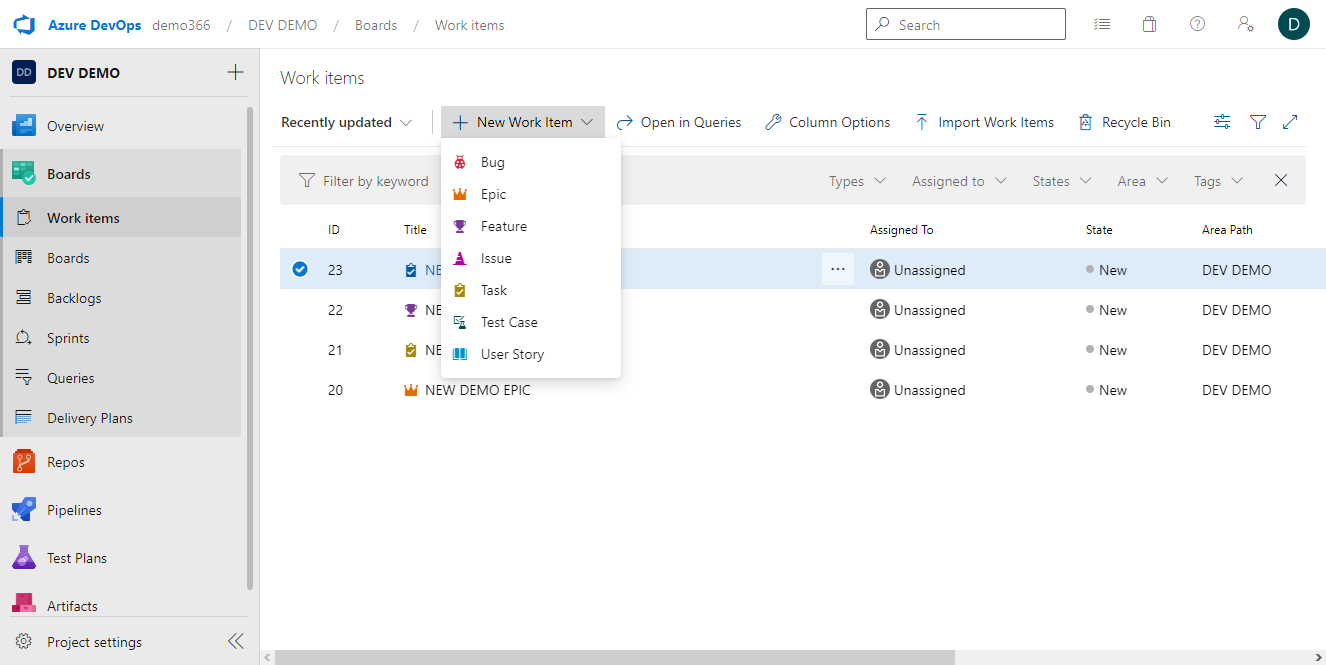
With your connection in place, go to your Azure DevOps dashboard and create a new work item.
Click on “New Work Item” on your selected board. Select “Epic” from the dropdown menu.
Change the name and click on “Save” to effect the changes. Afterward, you can scroll down to the bottom of the Epic to see that the connection has started syncing automatically.
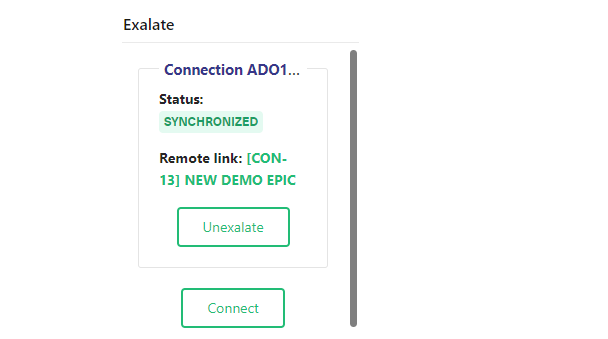
When this is complete, you can click on the link to view the ticket on the Jira side.
Follow the same steps to create a Task and a Feature.
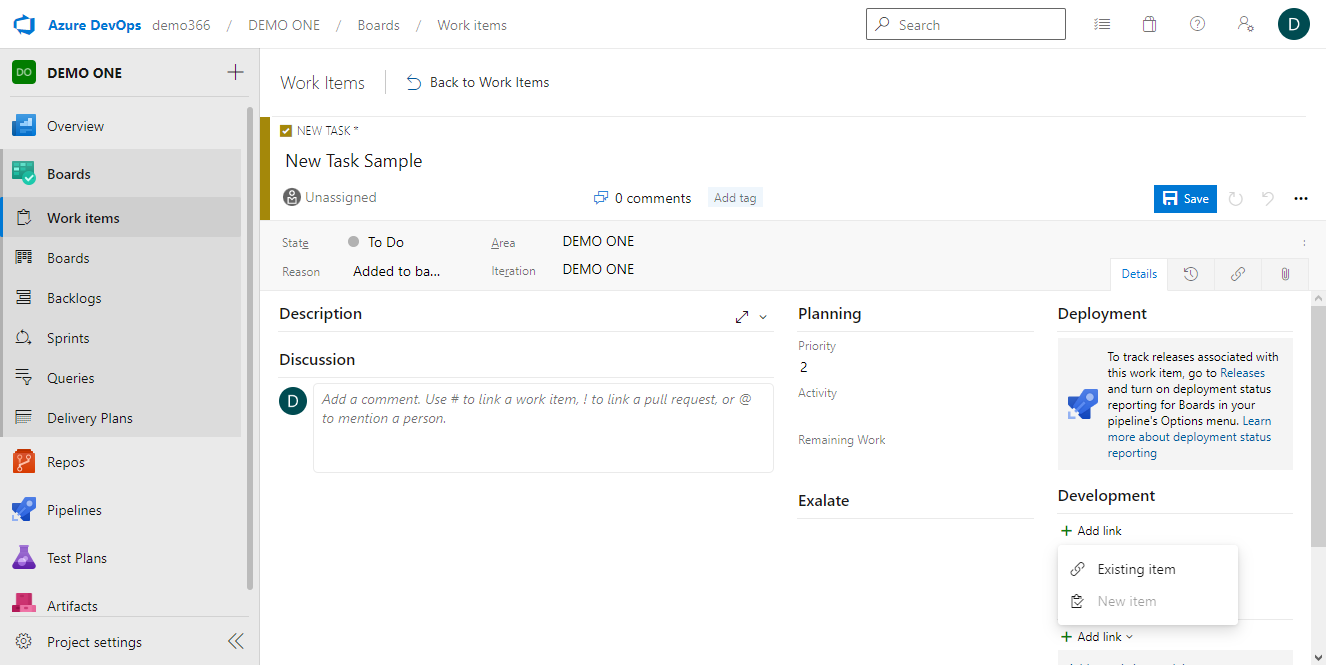
With the Feature tab open, add a name and description. Then, go to the “Related Work” section on the right and click on “Add link” then select “Existing Item”.
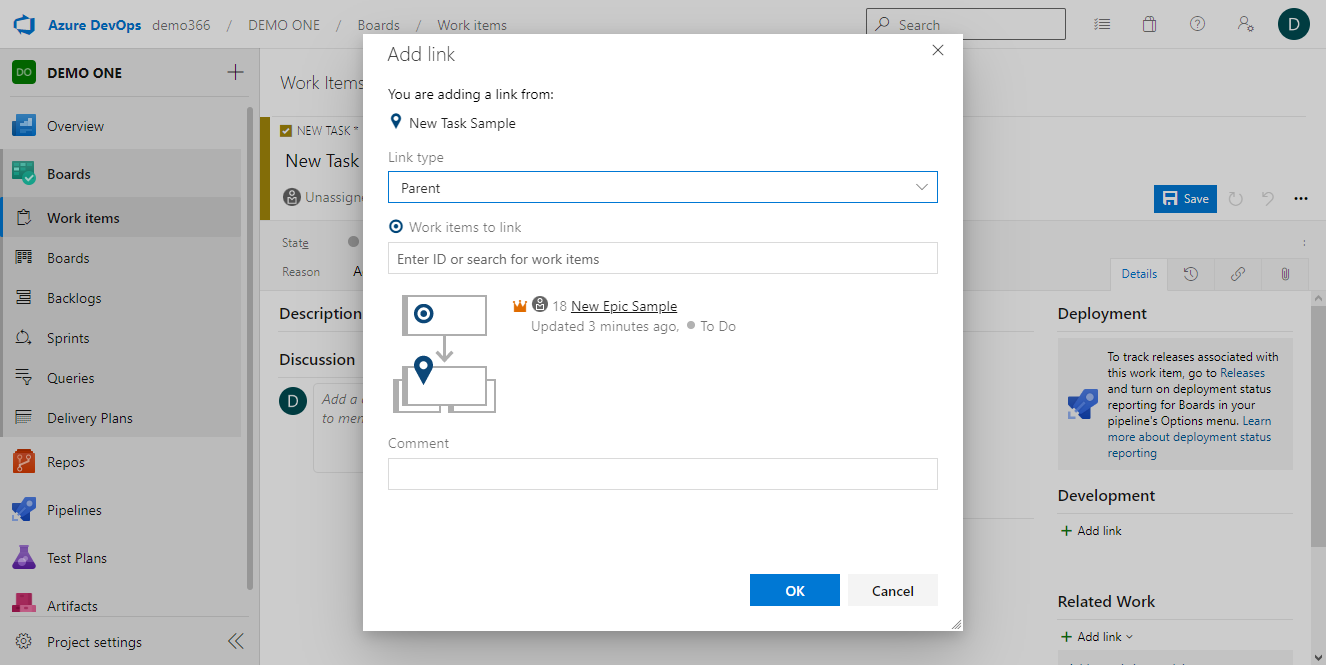
You will see a pop-up modal. Select “Parent” as the link type and make the Epic you created earlier the parent. Click on “OK” to complete the process and save the changes.
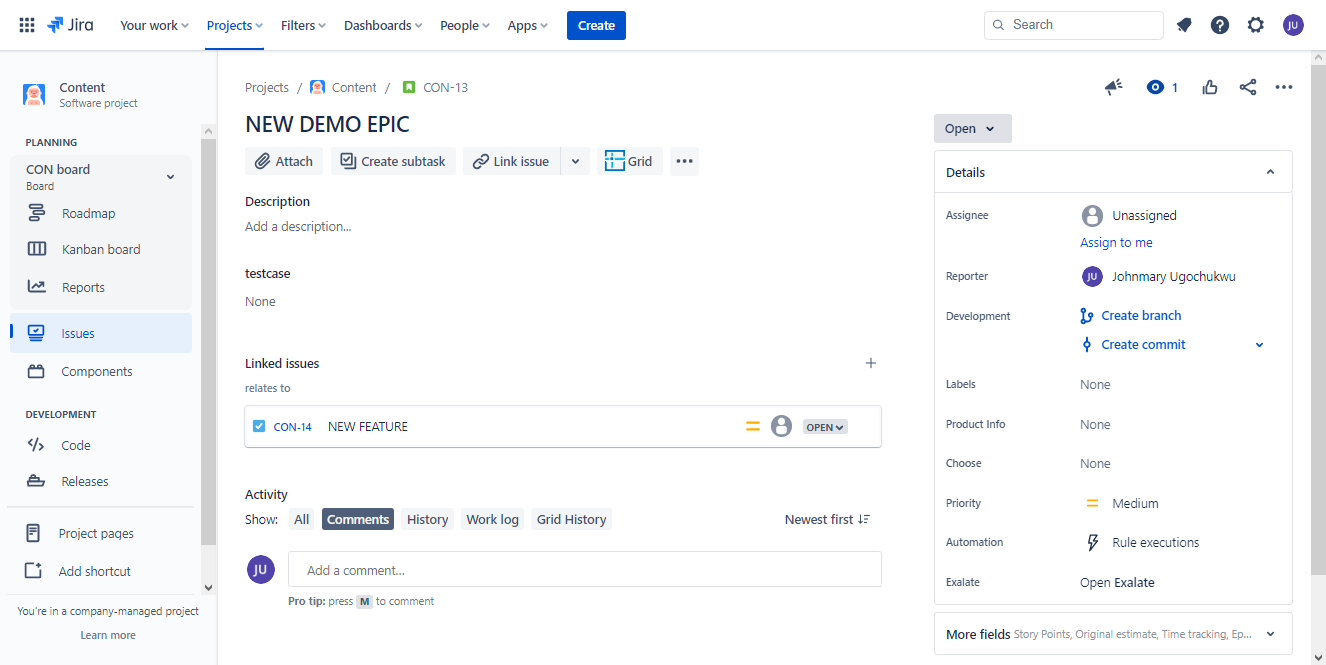
Next, create a Task and make the Feature its parent. Afterward, you can view them on Jira to see the established hierarchy.
Conclusion
Exalate is a solution that enables you to update custom Azure DevOps work items with Jira issues. It also allows you to set custom rules and triggers to meet the requirements of any specific use case.
If you still have questions or want to see how Exalate is tailored to your specific use case, book a demo with one of our experts.
Recommended Reading: